

Former aircraft fitter Steve Manley really likes 3D printing his own jigs to build LED cubes of different sizes. He has written about his experience making a really lovely 8 x 8 x 8 3D tricolor LED Cube. When it’s lit up, the room looks like a psychedelic lounge, of sorts, and you immediately think to yourself, “I need more of these, in different sizes, all over my house!”
Well, the good news is that you are in luck. After Manley built this one, he decided to make a larger, 12 x 12 x 12 cube with WS2812-based NeoPixels in embedded systems. NeoPixels have four pins and can be strung together. And the coolest part is you can control hundreds of the pixels with a single pin from your microcontroller. The point is: the cubes are getting bigger, the lights are getting brighter, and 3D printed jigs provide the foundation for such things of beauty and splendor.


So let’s find out a little bit more about these amazing cubes that use 3D printed jigs. Manley has made a 4 x 4 x 4 prototype of the larger (12 x 12 x 12) cube, and as you can see in the above photo, it is quite spectacular in its own right. How did he do it? Well, we don’t exactly have a step by step Instructable here, but I can explain what I know from his friend Max Maxfield’s article on the cube.
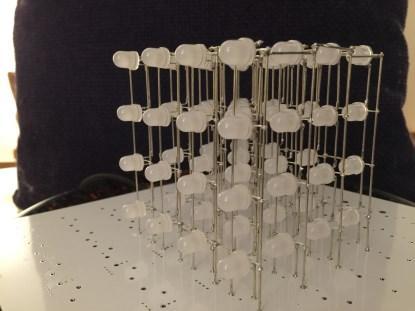
First, you can see that the diodes are arranged straight forward, making their connection much easier. I guess it is more common to arrange them pointing up for a lit up ceiling surrounded feeling, but Manley claims that usually these cubes are placed in corners of rooms, so pointing the packages out into the room makes more sense. I will take either option here!
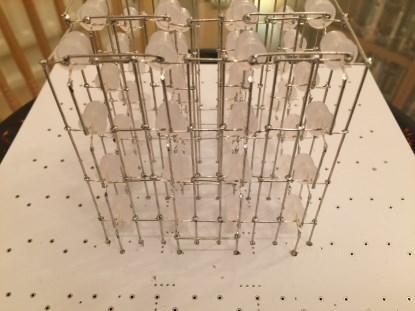
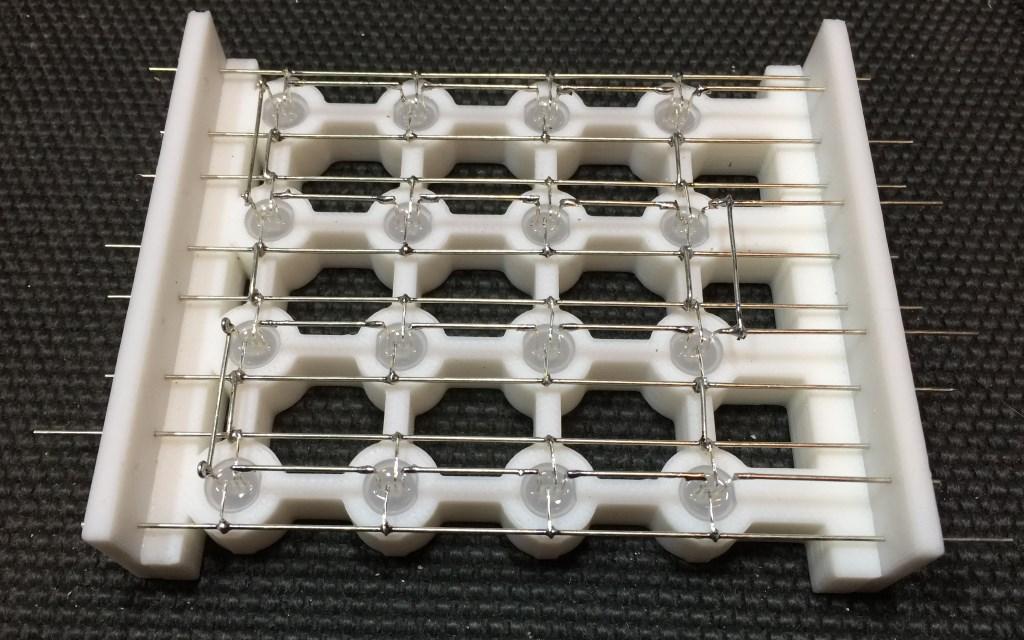
The back panel allows you to view how wiring is done. He made this all look so organized by 3D printing the below jig which connects 16 LEDs together, forming one panel of the cube. But each LED has 4 leads that must be bent with precisely formed loops. The STL files are not available for this, but the design is pretty straightforward for those of you who are in the 3D design field. (Manley uses a free version of the SketchUp 3D drawing package.)
Now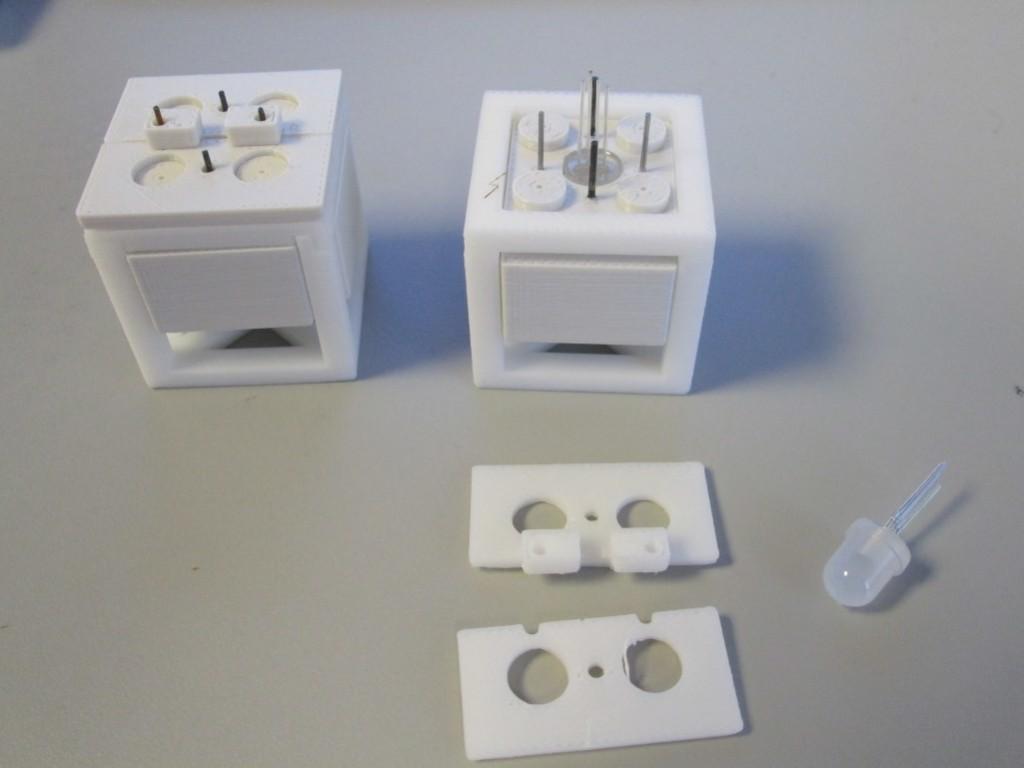

“Once the covers are attached, you simply use a set of needle-nosed pliers to bend the leads, loop them around the vertical pegs (which are formed from hardened steel drill bits), and snip off any unwanted excess.”
So those are the directions, as best as we can muster for now, as to how Steve Manley created his prototype Neopixel Cube. You can watch the brief video below, start working on your own, and soon enough, maybe you’ll have that awesome psychedelic lounge vibe that such a wondrous creation inspires.
