
Winter is closing in on us and you can already see that the cold weather may be giving you an impending case of cabin fever. You need a project to get you through this, right? Well, good news for those of you 3D printing enthusiasts out there. Istanbul, Turkey-based Instructables user “hobbyman” has a great idea. Why don’t you try strengthening parts you have 3D printed on your home-based desktop printer for your various devices and gadgets?
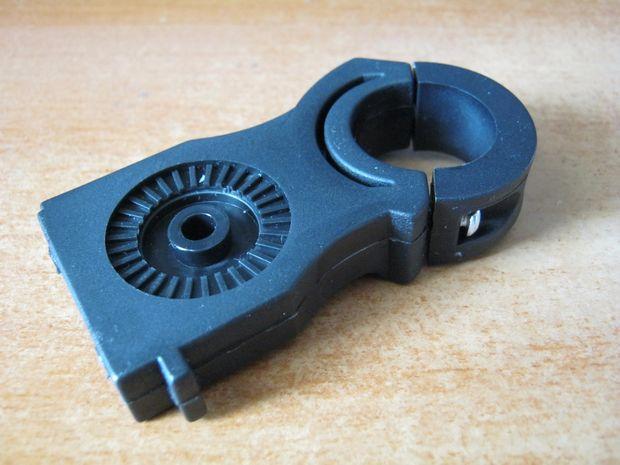
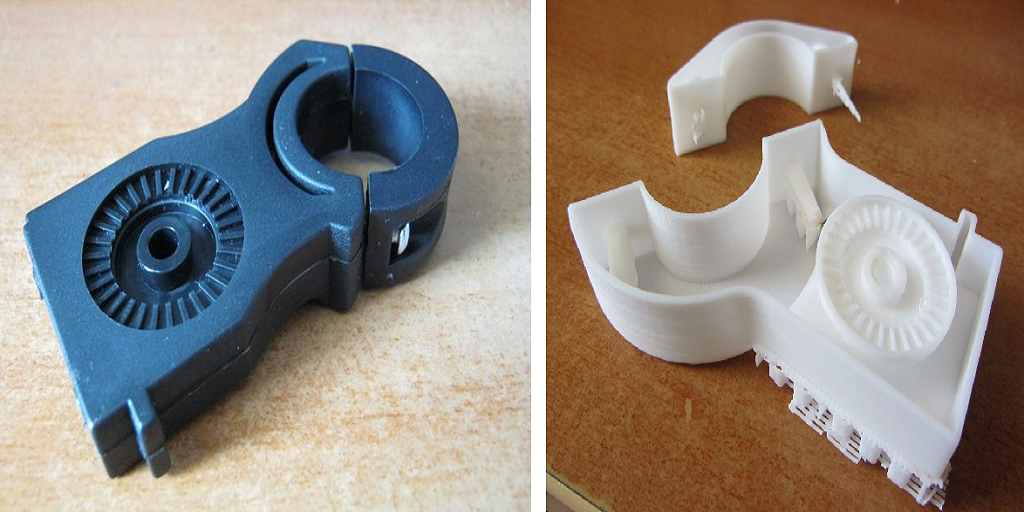
3D printed parts are great because you may have a sudden need for a replacement in order to keep something working. But as hobbyman explains, they wear out more quickly than original load bearing parts. This is his motivation here, as he sets out to make new handlebar parts to support cycling bags. He describes his idea in his own words:
“Strengthening a 3d part may give us the ability to use those parts in place of actual working, load bearing parts. So instead of trying to find an original replacement part for a broken one of our gadgets, robots, vehicles, mechanical toys or in any mechanical tech project we develop, we can simply go with the 3d printed parts.”
Hobbyman gives us twelve-step instructions for strengthening 3D printed parts. First you need to choose the part you want to strengthen, and then acquire the 3D model files for it either online or by modeling it yourself. (If you’ve printed the part before, you may still have the files.) Hobbyman chose to strengthen his part using fiberglass and epoxy, so his model design enlarged dimensions and surfaces of his part, and made grooves for the epoxy and holes for the fiberglass, too. Then he printed his part to make sure it fit with the other ones before continuing.
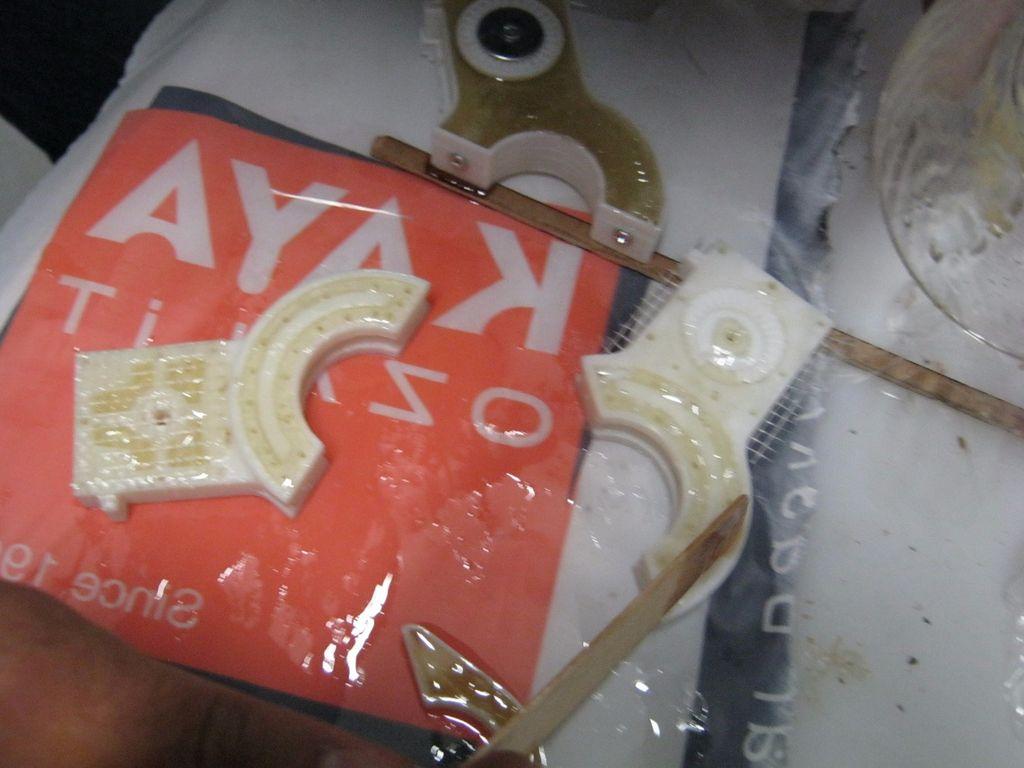
In Step 3, hobbyman applied fiberglass and resin to the printed part (see photo to the right). The fiberglass threads were sewn into the part using the holes he added in his design so the sides of the part could be reinforced. The epoxy resin was applied, and then it took about a day to cure each application. Step 4 had hobbyman applying even more resin for strength, and at this point he realized there was another way he could do this!

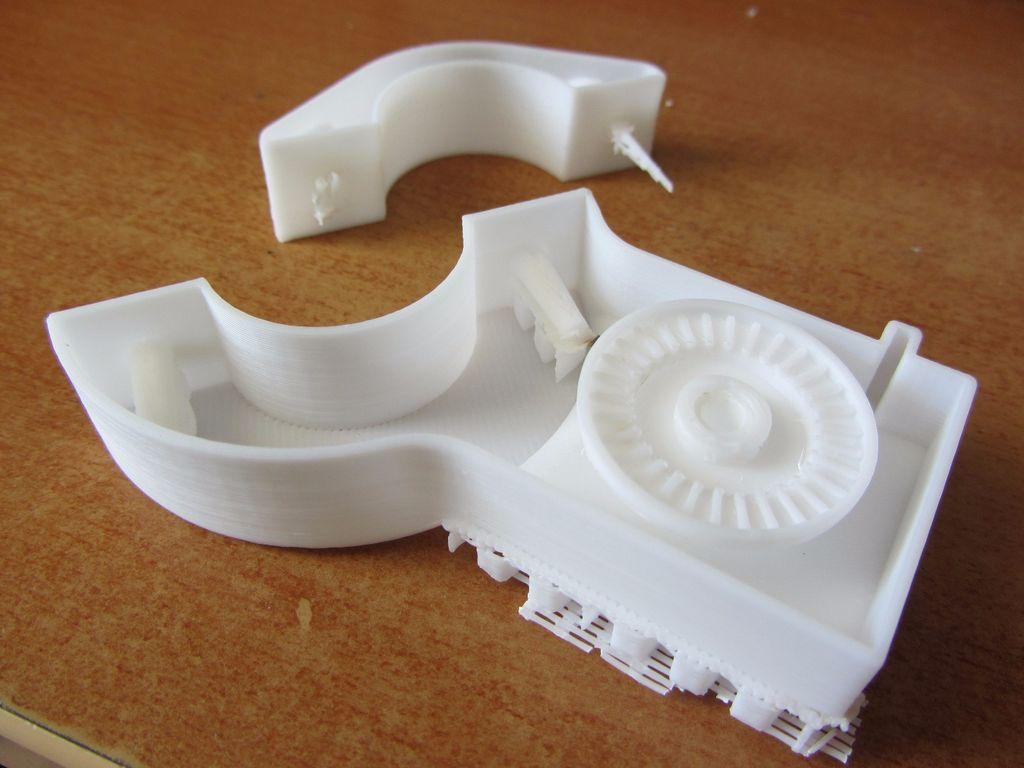
In Step 5 he decided to design a second model of the part that is empty inside, and that can be reinforced with epoxy resin and fiberglass later on. So here he ended up with an empty shell with a 1mm wall thickness (see left and below photos).
Steps 6-8 are all about how to fill the second part so it is thoroughly strengthened with the epoxy resin and fiberglass. In Step 9, you are curing your part and checking to see if any spaces have formed by the epoxy resin flowing inside the gaps. If this happens, you just fill the spaces up — which makes for a stronger part overall. It took hobbyman about a day for his parts to fully cure, and he recommends this kind of waiting period because this is how you ensure the epoxy will fill all of the empty spaces.
Steps 10-12 involve assembling completed parts. The part hobbyman made was for his bike handlebars, and the first idea was to leave the 3D printed plastic shell on the part. However, when he was sanding the part, the plastic portion broke off and then easily peeled off. This turned the part into an epoxy-fiberglass composite part that was still made through 3D printing. Of course, the lack of the plastic around the part changes the design dimensions, and that needs to be considered when modeling.
Hobbyman recommends the second reinforcement and curing technique he demonstrates here for the strongest possible parts. It may take more time to allow parts to cure, but, as he shows us using his bike as an example, the wait is worth it! What are your thoughts on these techniques? Let us know in the Stronger 3D Prints forum thread on 3DPB.com.
