


I have never worked with a 3D printing pen, but after seeing this project for Tiffany Candle Holders — I’m a big doodler of flowers, myself — now I know what I am asking Santa Claus for this year. 3Doodler markets itself as the first 3D printing pen ever, and from taking a look at the website, it appears the company has a very good grasp (pun intended) of this market niche. For one, the pen is affordable at $99, and you can add on all kinds of accessories like pads, nozzle sets, jet packs, project books, and a foot pedal too.

You may be old enough to remember the shrink dinks you put in the oven. This 3Doodler activity introduces you to a more advanced version of this concept: Doodle Baking. You’ll need a 3Doodler pen, a print of the Tiffany stencil (either cube or cylindrical), aluminum foil, plastic strands of your chosen colors, and an oven.

Starting with your printed stencil, you will trace over all lines evenly in black PLA, which requires you to cover the stencil with tape or laminate. Or you can also purchase a Doodle Pad for this purpose too. Next, you use the colors of your choosing, like translucent ones that let the candle light shine through well, to fill the gaps that are left after tracing the stencil with black. You can experiment with overlapping colors for a smooth transition, or you can even mix them to make new colors. When you are done you can peel off your finished doodle.
Now, it’s time for some Doodle Baking! Set your oven at 320°F, and when it’s ready, put your doodle on an aluminum sheet in the middle of your oven, letting it bake for 10 minutes while watching the surface melt and get glossy and smooth. Then let it cool: the goal here is for everything to be even, with no raised lines.
This is Doodle Baking, and it is a simple process with a genius effect! Of course, you still have to shape the doodle into either the cube or cylindrical version, and all of those steps are covered here. One hint: a hair dryer set on high proves essential for fixing bent parts of your baked doodle and for shaping your doodle into a cylinder by wrapping it around a cup and blow drying it.
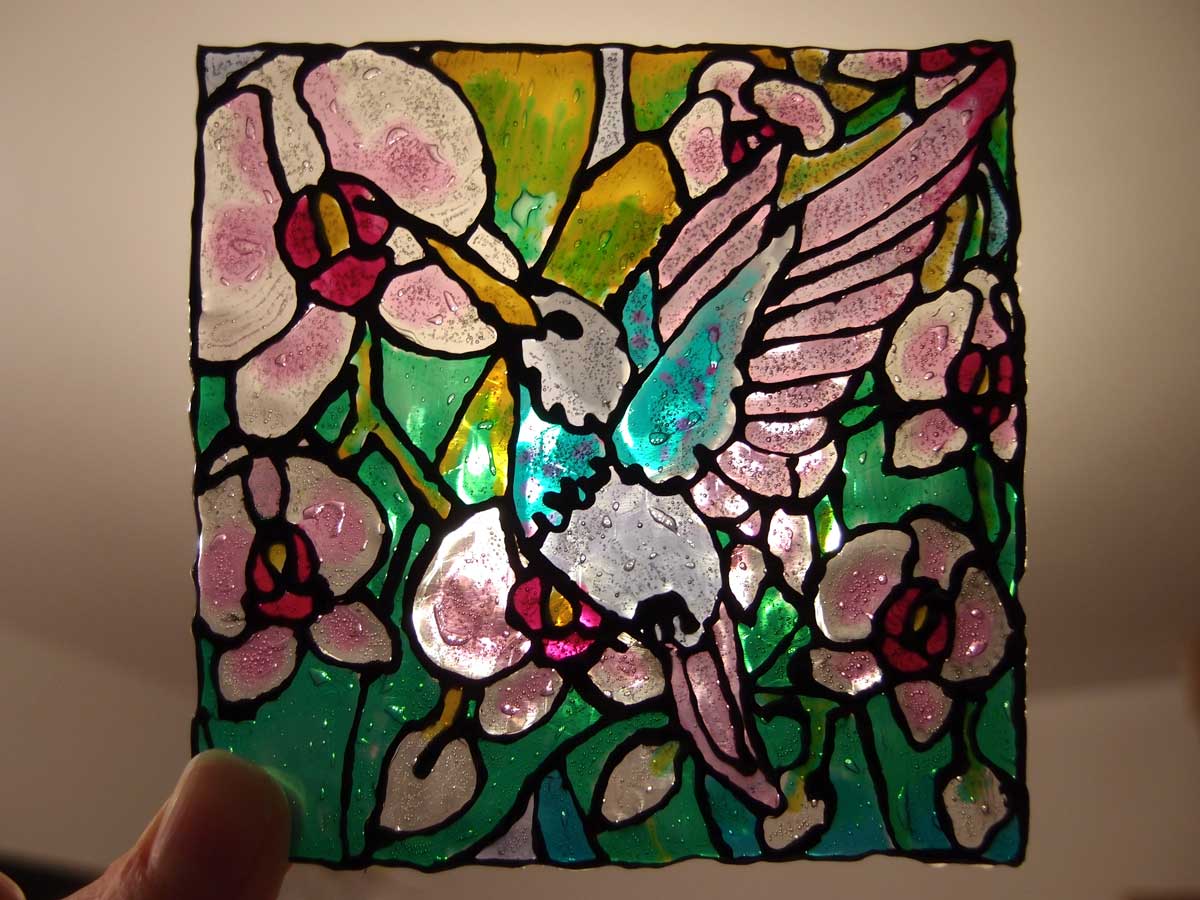
Wow: you can see for yourself how beautiful the results are. This rivals with the Tiffany stained glass effect, for sure. Just another great activity from the folks at 3Doodler! Have you tried creating any of these candle holders? Please let us know in the 3Doodler Tiffany Candle Holder forum thread on 3DPB.com.