

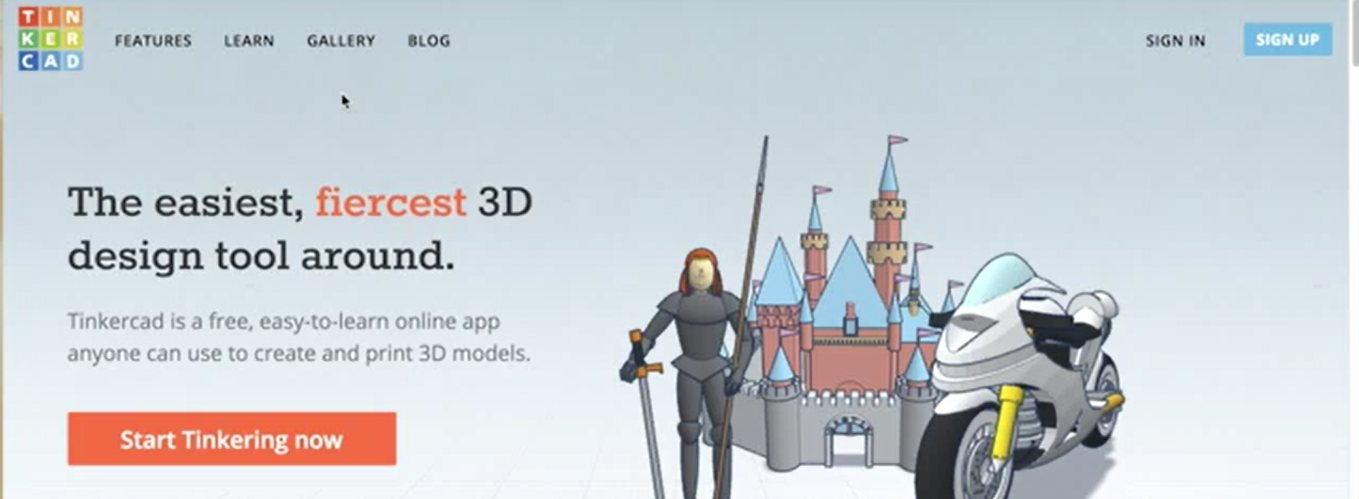
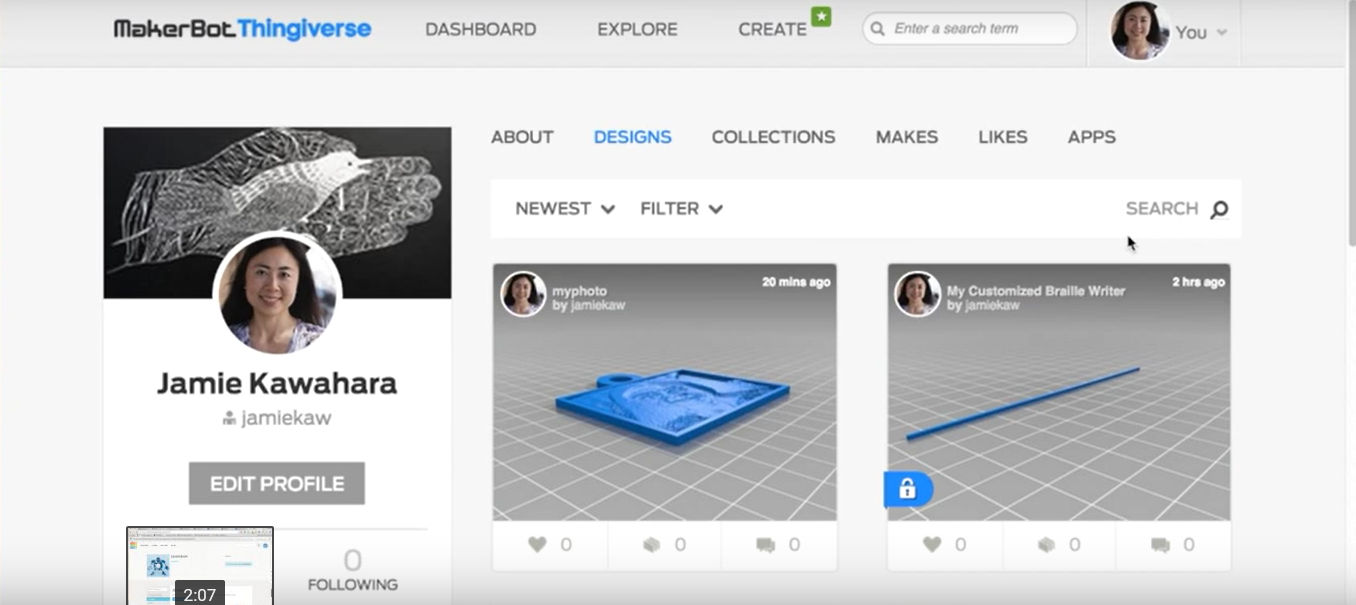
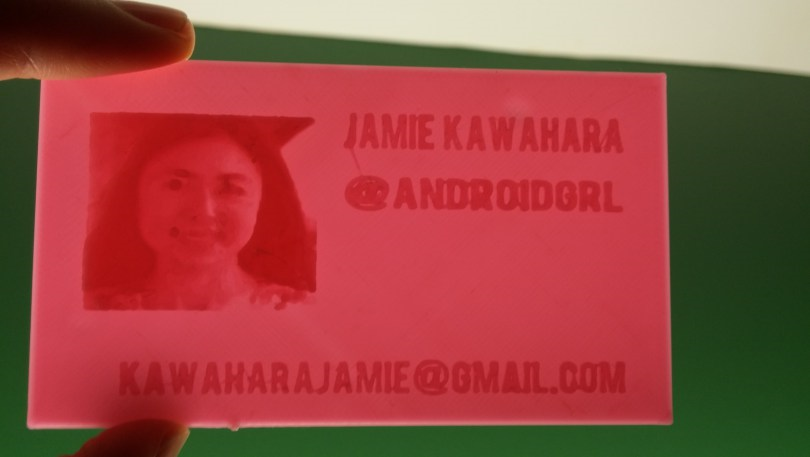
This post, by Women in 3D Printing technical writer Jamie Kawahara, takes you through each step toward printing your own business cards. She covers four basic steps you need to follow. First, you need to register for your free Thingiverse and Tinkercad accounts. The Tinkercad account is online, and so you don’t have to be bothered downloading it. Then you choose the Customizable Lithopane page on Thingiverse: then click “open in customizer”; click small pane and invert colors; choose the jpg photo you want and click “Create Thing.” Then you download your STL file by clicking on “Thing Files,” which you can find under the “My Things” dropdown arrow at the right on the top of the page.
Next you will create your Business Card Base, by clicking on “Create New Design” in Tinkercad. Then select the geometric option under shape generators and select the red box. Drag the red box to to the workplane and then click to deposit it. After that you will manually enter the business card standard size by first selecting the ruler from the top tool bar, dragging it to the red box, and then placing 89.00 for width and 51.00 for height measurements. You also want to choose a thickness of 1.0 for the card: not too thick and not too thin.
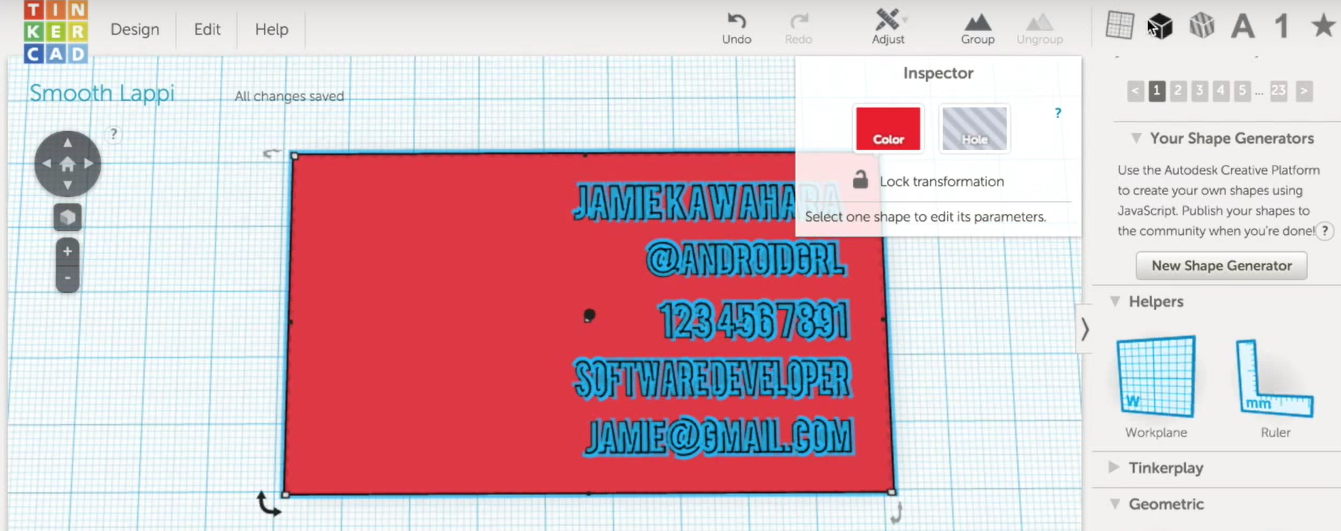
Your card needs text, so this is the next step. There are lengthy instructions here about how to get it all right with text: just scroll down to the post section “Create the Business Card Text” or watch the video tutorial below.
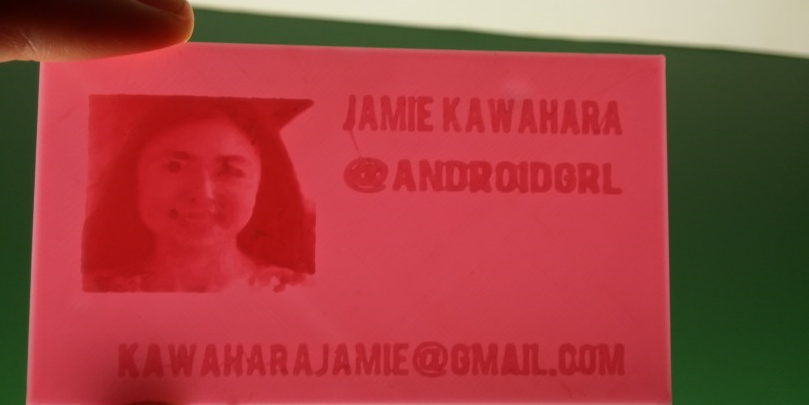
Finally, before you print your new cards, you need to add your lithopane portrait from Thingiverse. Import your Thingiverse STL file and adjust its size. You also will want to change the loop and raised edges of the original design, and there are detailed instructions about how to do that in Kawahara’s post.
Then, you download the file for printing.
The great news about this project is that the video tutorial is easy to follow, so you should watch that if you run into any glitches designing your perfect, edgy, and captivating 3D printed business card — brought to you by Women in 3D Printing. I only have one request for Jamie Kawahara: can you find a way to make them into a sticker or magnetize the cards? Then all of the cards could be up on an office wall or filing cabinet instead of tucked away!
