
It’s difficult finding really original gifts for the holiday season, but, informed reader, you already know about all of the original 3D designs out there. So you are one step ahead of the gift giving game. This Instructable, which covers how to 3D print a mini model of a home and then display it in a shadow box, could make a great gift for someone with a special attachment to a home. Whether it be long-term family estates or modest little bungalows, homes are the symbols of family love and togetherness, right? (Which is why we often hear the phrase “Home for the Holidays” during this time of year.)
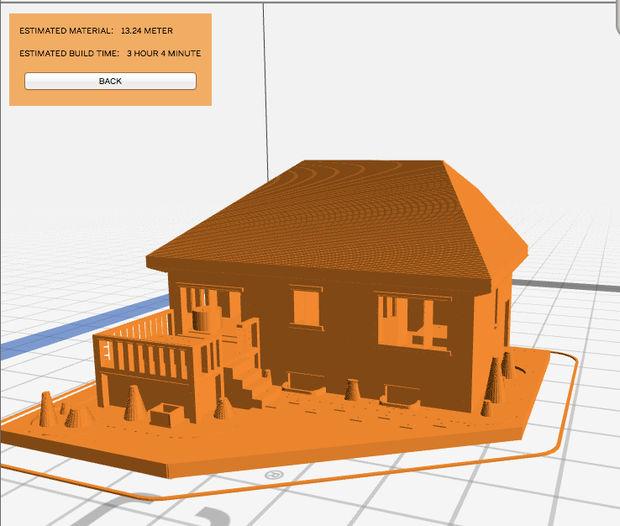
Step One involves everything you will need to do this project: SketchUp; Slicer Software; 3D Printer; Dremel Rotary Tool; Primer; Acrylic Paint; and a Lighted Shadow Box Frame. Step Two has you using your slicer software to convert the 3D model into the correct format for your printer. Bédard used the following settings to print his home: Layer Height of 0.15mm; First Layer Height of 0.25mm; 3 Shells; 35% Infill; and an 80mm/s Build Speed. He also informs us here that this will use several meters of filament, taking several hours to print, too.
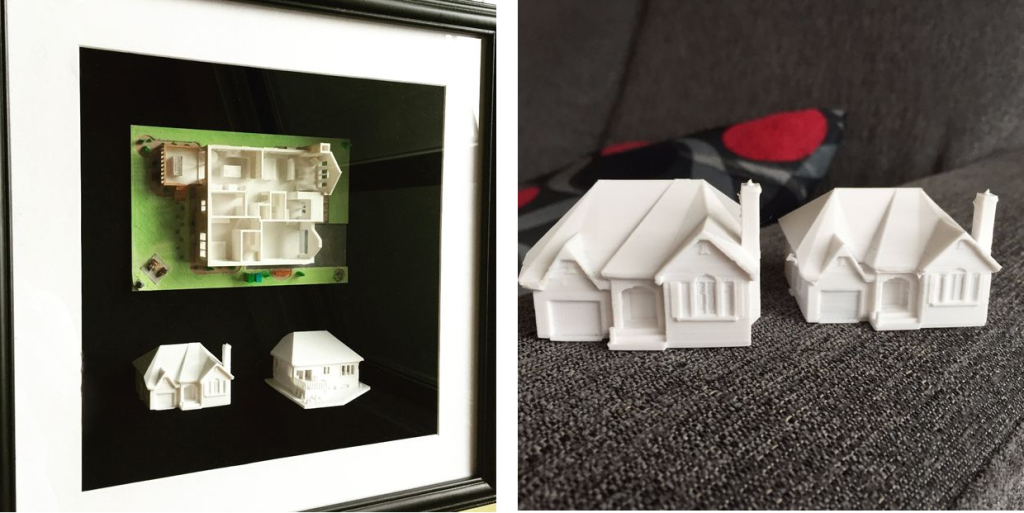
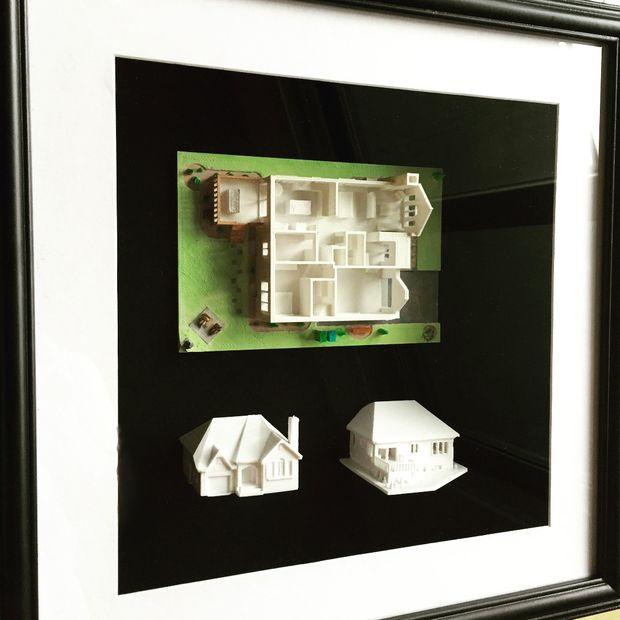
Finally, in Step Seven, you are mounting your pieces with a glue gun to the lighted shadow box frame for all to appreciate. You need a frame with a depth of about 1-2.5 inches, with a glass door that closes. And there you have it! Home for the Holidays.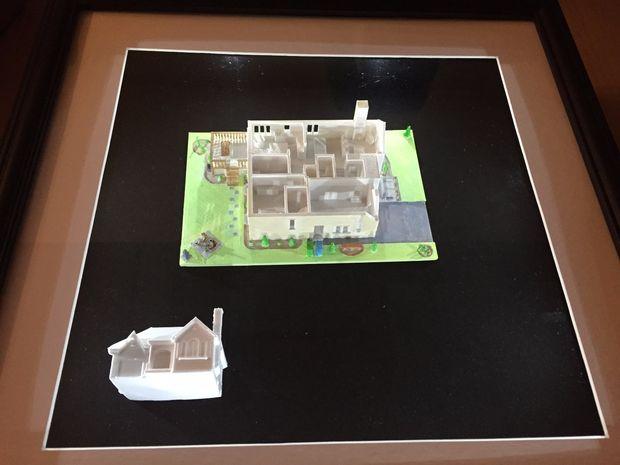
If you are surprising someone in your life with their dream home, you could always wrap this up and let them know in a very memorable way where they will be living next. And then there’s those of us who, given the crazy housing market, may never achieve a dream home. Why not sketch one up and print it anyway, so you can sit in your overpriced urban efficiency apartment and stare at this work of the imagination on your mantle?