World’s Smallest Plunger, 3D Printed From Wood & NinjaFlex Filament

“Um, the toilet in our bathroom seems to be having a problem.”
These are the dreaded words in any household, but in ours it elicits raised eyebrows and a groan to reach the high heavens when I realize the situation is in the bathroom shared by my two teenage boys.
As the conversation streams off with something that sounds faintly like “…and a disgusting mess…” I am already throwing down the gauntlet with my $9.99 plunger from the hardware store, feeling no hope.
Alas, though, as the clouds part and the sun shines through, success is met–without my having to call a plumber. Maybe it’s just me, but I think that’s a triumph that deserves at least a victory dance from all involved. No reaction? How about a high-five? Nothing, ‘cept crickets.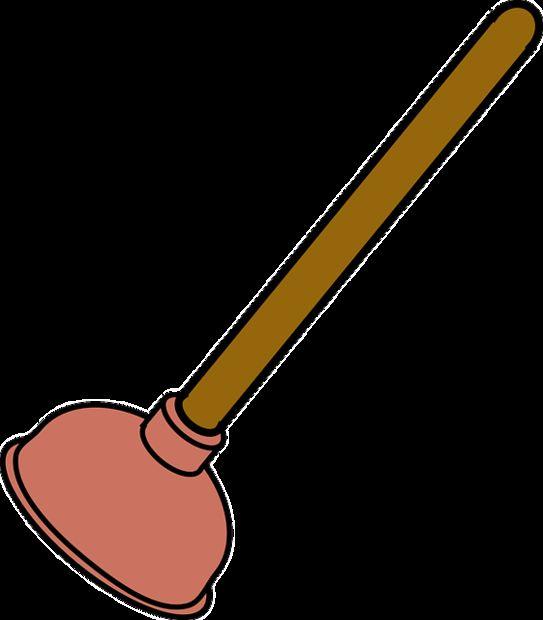
I’ve discovered that sometimes it takes added creativity to catch everybody’s attention, so the next time this potential plumbing plight is served upon me, just for a little humor and a lot of shock value, I plan to request ever so politely that the offending parties fix it themselves, and I will hand them the latest and greatest in 3D printing innovations, because I have a feeling being asked to service a toilet with the world’s tiniest plunger, 3D printed or not, might get us more than those infamous crickets.
Upon explaining that it is 3D printed with an astounding two different materials, perhaps everyone will feel differently. No? Well, in terms of a fun project, this plunger might only be good for working as a keychain or a novelty, but it does demonstrate the versatility that can be achieved–and on a very small scale–with one extruder, no less.
While most of us have read about a variety of multiple extruding devices available in the marketplace today, the fact still remains that most 3D printing hobbyists employ single-extruder 3D printers. With this project, the secret is in using the single extruder to spread the materials across different layers, as demonstrated by Instructables member icecats, who prints one material, pauses the printer, switches materials, and then continues the 3D print.
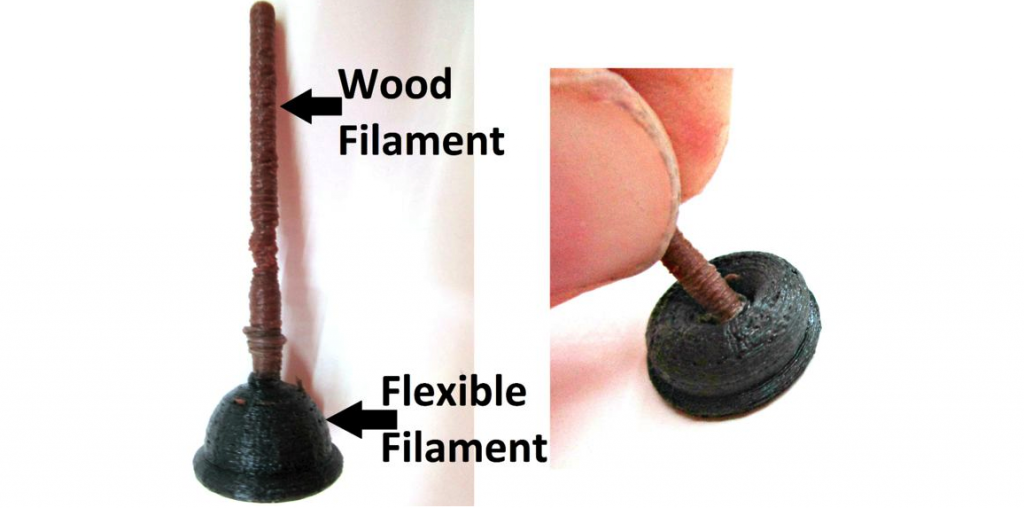
 While it is a bit of a comical choice, icecats chose the mini-plunger design because it fit the material requirements he wanted to employ–combining flexible filament and wood filament. (Note: this design was used with permission from pixabay.)
“Make sure that different materials will be used at different layer heights. This is key,” says icecats. “This process relies on the fact that your materials will be at different heights. In my example, the flexible plunger base is lower than the wooden handle.”
Once you’ve assessed that the materials you want to 3D print are indeed compatible with your specific 3D model, you will need to slice your 3D model into GCODE, using the slowest of the recommended settings with the best balance of infill, layering, and retraction settings. Upon loading the first material into the 3D printer, be aware that as you alternate to the next material, you can change the temperature then if desired.
Obviously, the crux of the project here is changing materials with the single extruder. Keep an eye on the first material. Are you ready for the next one? If so, hit the pause button. Raising the printer 10 mm on the Z-axis, make sure to put some paper under the extruder to catch leakage. After that, you have your chance to adjust the temperature if needed–upon adding the second material and purging the extruder until it’s printing your second material purely. This process can be repeated as often as you like.
In using PLA/NinjaFlex and wood/NinjaFlex, icecats was pleased to find superior bonding between the two.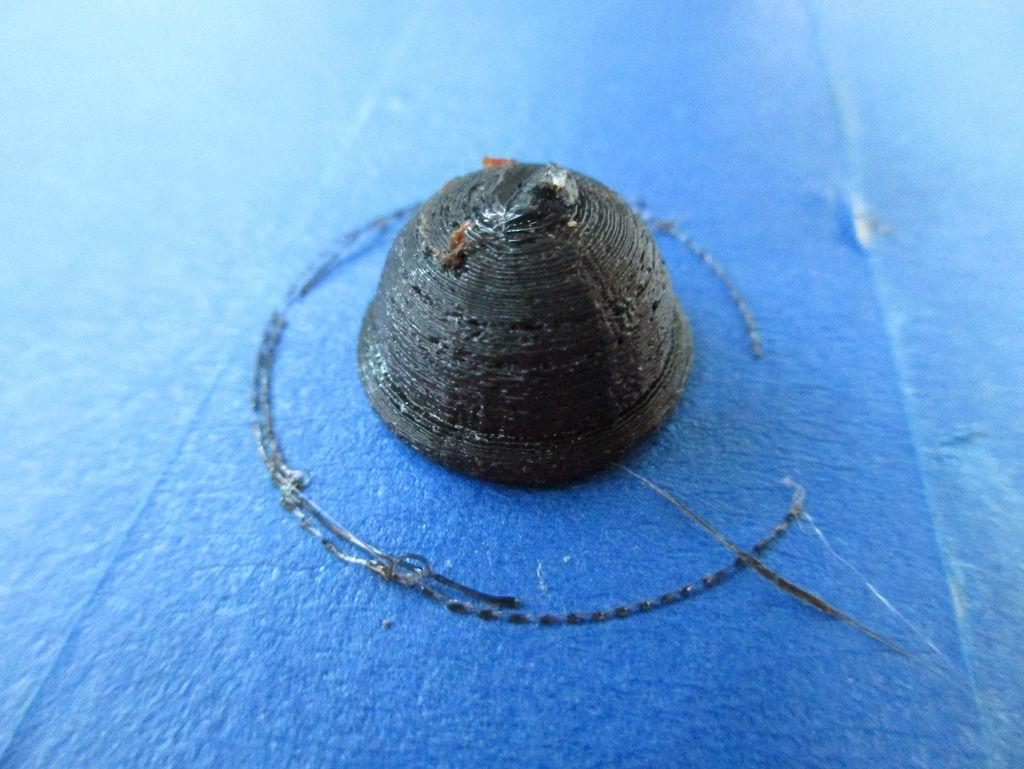
“The purple and white cylinder (shown above) was printed with PLA and NinjaFlex,” said icecats. “I stressed the print until it broke–two PLA layers split apart, which means that the NinjaFlex/PLA bond is actually stronger than the PLA/PLA bond! The bonding between the wood/NinjaFlex was similarly high strength.”
Icecats recommends that you try this process again with some other projects–like the following:
- Hard PLA/ABS box with NinjaFlex hinge
- Hard PLA/ABS model car with NinjaFlex shocks and tires
- Wood “table” with PLA/ABS legs
Have you made anything cool with this method, or are you planning to try? Discuss in the 3D Printed Mini-Plunger forum thread over at 3DPB.com.
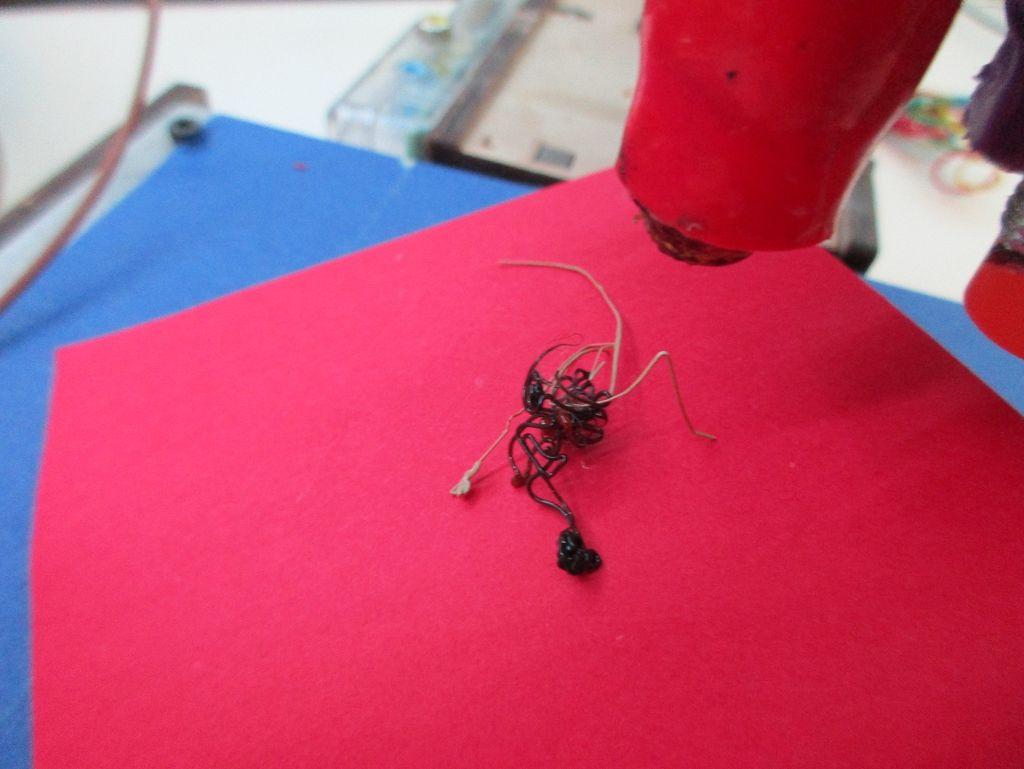
Switching between filaments: purge the first until the second extrudes cleanly
Subscribe to Our Email Newsletter
Stay up-to-date on all the latest news from the 3D printing industry and receive information and offers from third party vendors.
You May Also Like
3D Printing News Unpeeled: A $3000 SLS System, Construction Subsidies and Parameters
The Housing Affordability Crisis is one of Canadian President Trudeau’s biggest issues. Now the government has made subsidies available, including scaling new technologies, 3D printed housing and libraries of reapproved...
“Bundled Light” Enables High Quality Plastic 3D Printing from LEAM
Naturally, we expect current 3D printing methods to continuously improve, but it continues to do so in the most surprising ways. The latest development comes from LEAM, a startup spun...
Each to Their Own: Exploring Creality’s Latest Ender Trio as the Company Strengthens Its Commitment to 3D Printing Advocacy
Creality has reaffirmed its commitment to promoting 3D printing. The launch of the Ender-3 V3 SE, Ender-3 V3 KE, and Ender-3 V3 showcases the company’s dedication to catering to diverse...
3D Printing News Briefs, March 23, 2024: AM in the US Coast Guard, Navy, & More
In today’s 3D Printing News Briefs, we’re discussing the use of 3D printing in various branches of the military, including the U.S. Coast Guard, the U.S. Navy, and the German...